

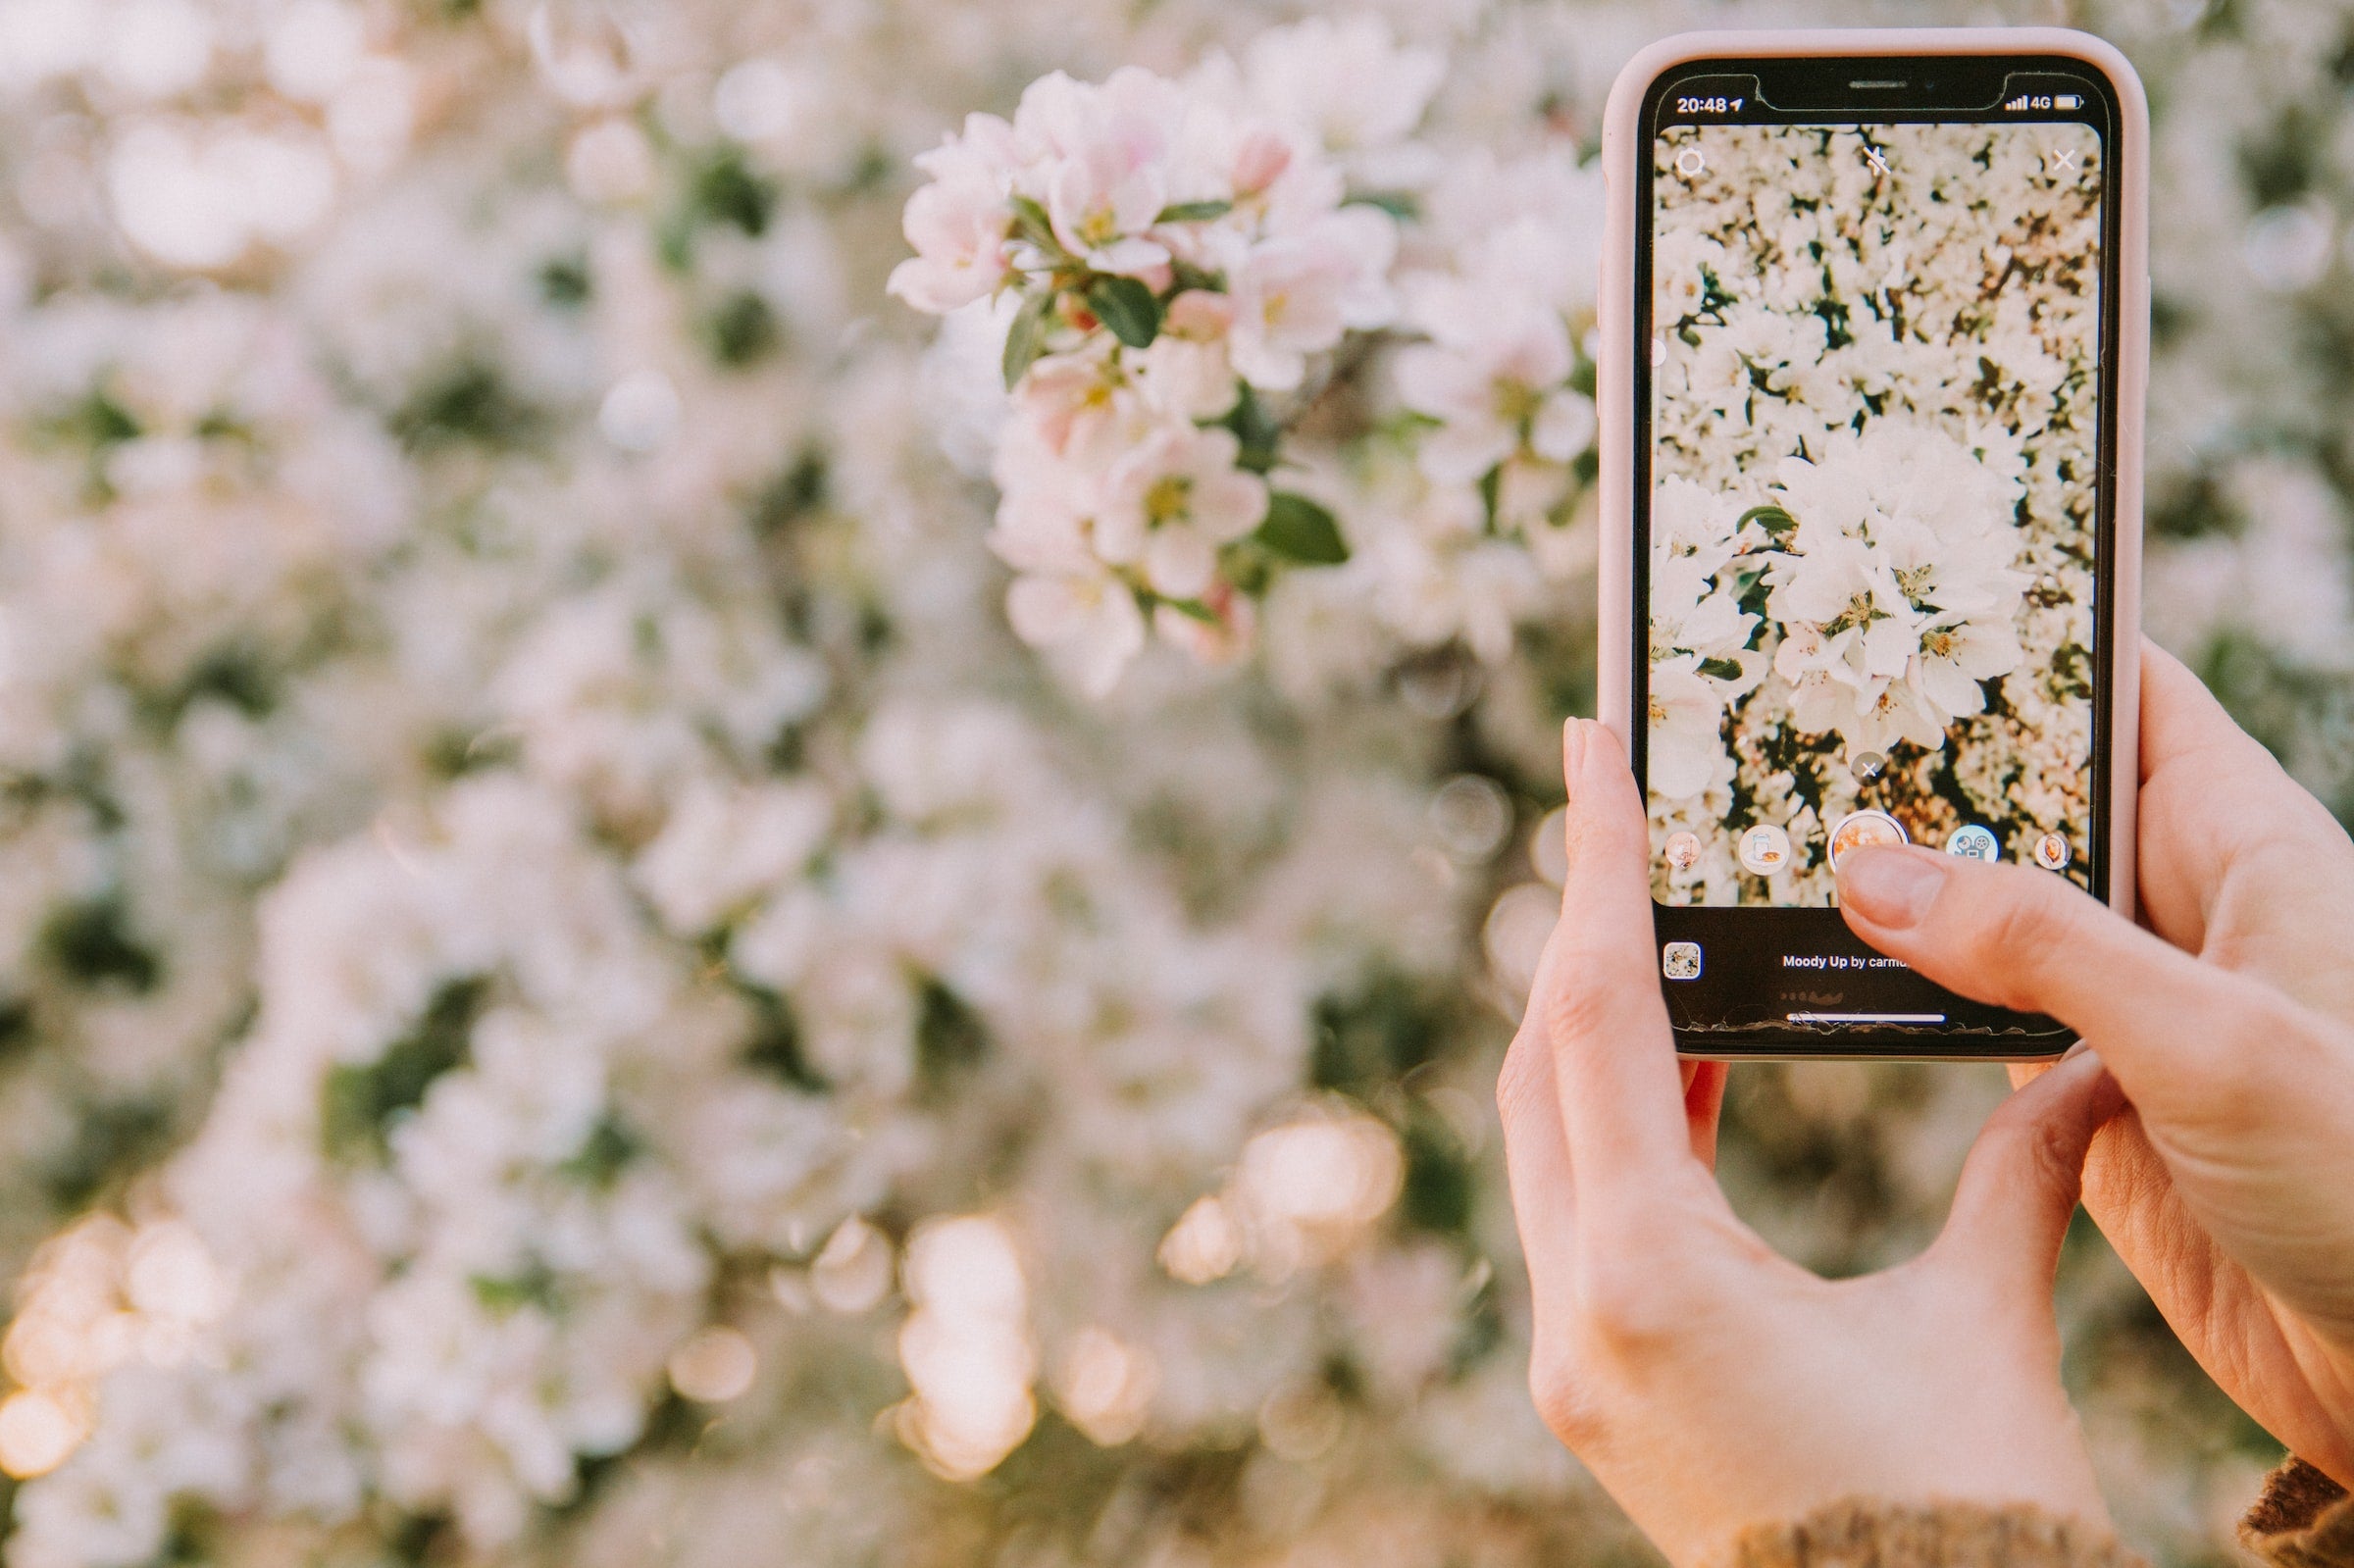
Master the Art of iPhone Photography with These 6 Simple Tips
If you own an iPhone, you already have a powerful tool for taking great photos right in your pocket. With a few simple tips and tricks, you can take your iPhone photography to the next level and capture stunning, professional-looking photos.
Here are six tips to help you master the art of iPhone photography:
-
Clean Your Lens
It may sound obvious, but a dirty lens can really impact the quality of your photos. Give your lens a quick wipe with a soft, lint-free cloth before you start snapping. This will help ensure that your photos are crystal clear and free from smudges or fingerprints.
-
Use Gridlines
Turn on the gridlines feature in your camera settings to help you align your shots and use the rule of thirds. This can make a big difference in the overall composition of your photos. By positioning the main subject of your photo at one of the four intersections of the grid, you can create a more visually appealing and balanced shot.
-
Experiment with Exposure
Tap and hold on the area of the screen you want to focus on, and a yellow box will appear. Swipe up or down on the box to adjust the exposure. This can help brighten or darken your photos as needed. With a little experimentation, you can find the perfect exposure setting for any lighting situation.
-
Find Interesting Angles
Don't be afraid to get creative with your angles! Try crouching down low or shooting from a high vantage point to add more interest and depth to your photos. By experimenting with different angles, you can create unique and captivating shots that stand out from the crowd.
-
Use Portrait Mode
If you have an iPhone with Portrait Mode, take advantage of it! This feature can help create stunning, professional-looking photos with a blurred background effect. Simply select Portrait Mode from the camera options and position your subject in the frame. Your iPhone will automatically blur the background, creating a beautiful depth effect.
-
Edit Your Photos
Use the built-in editing tools in the Photos app to enhance your photos. Play with brightness, contrast, saturation, and other settings to make your photos really pop. With a few quick tweaks, you can transform an ordinary photo into a stunning work of art.
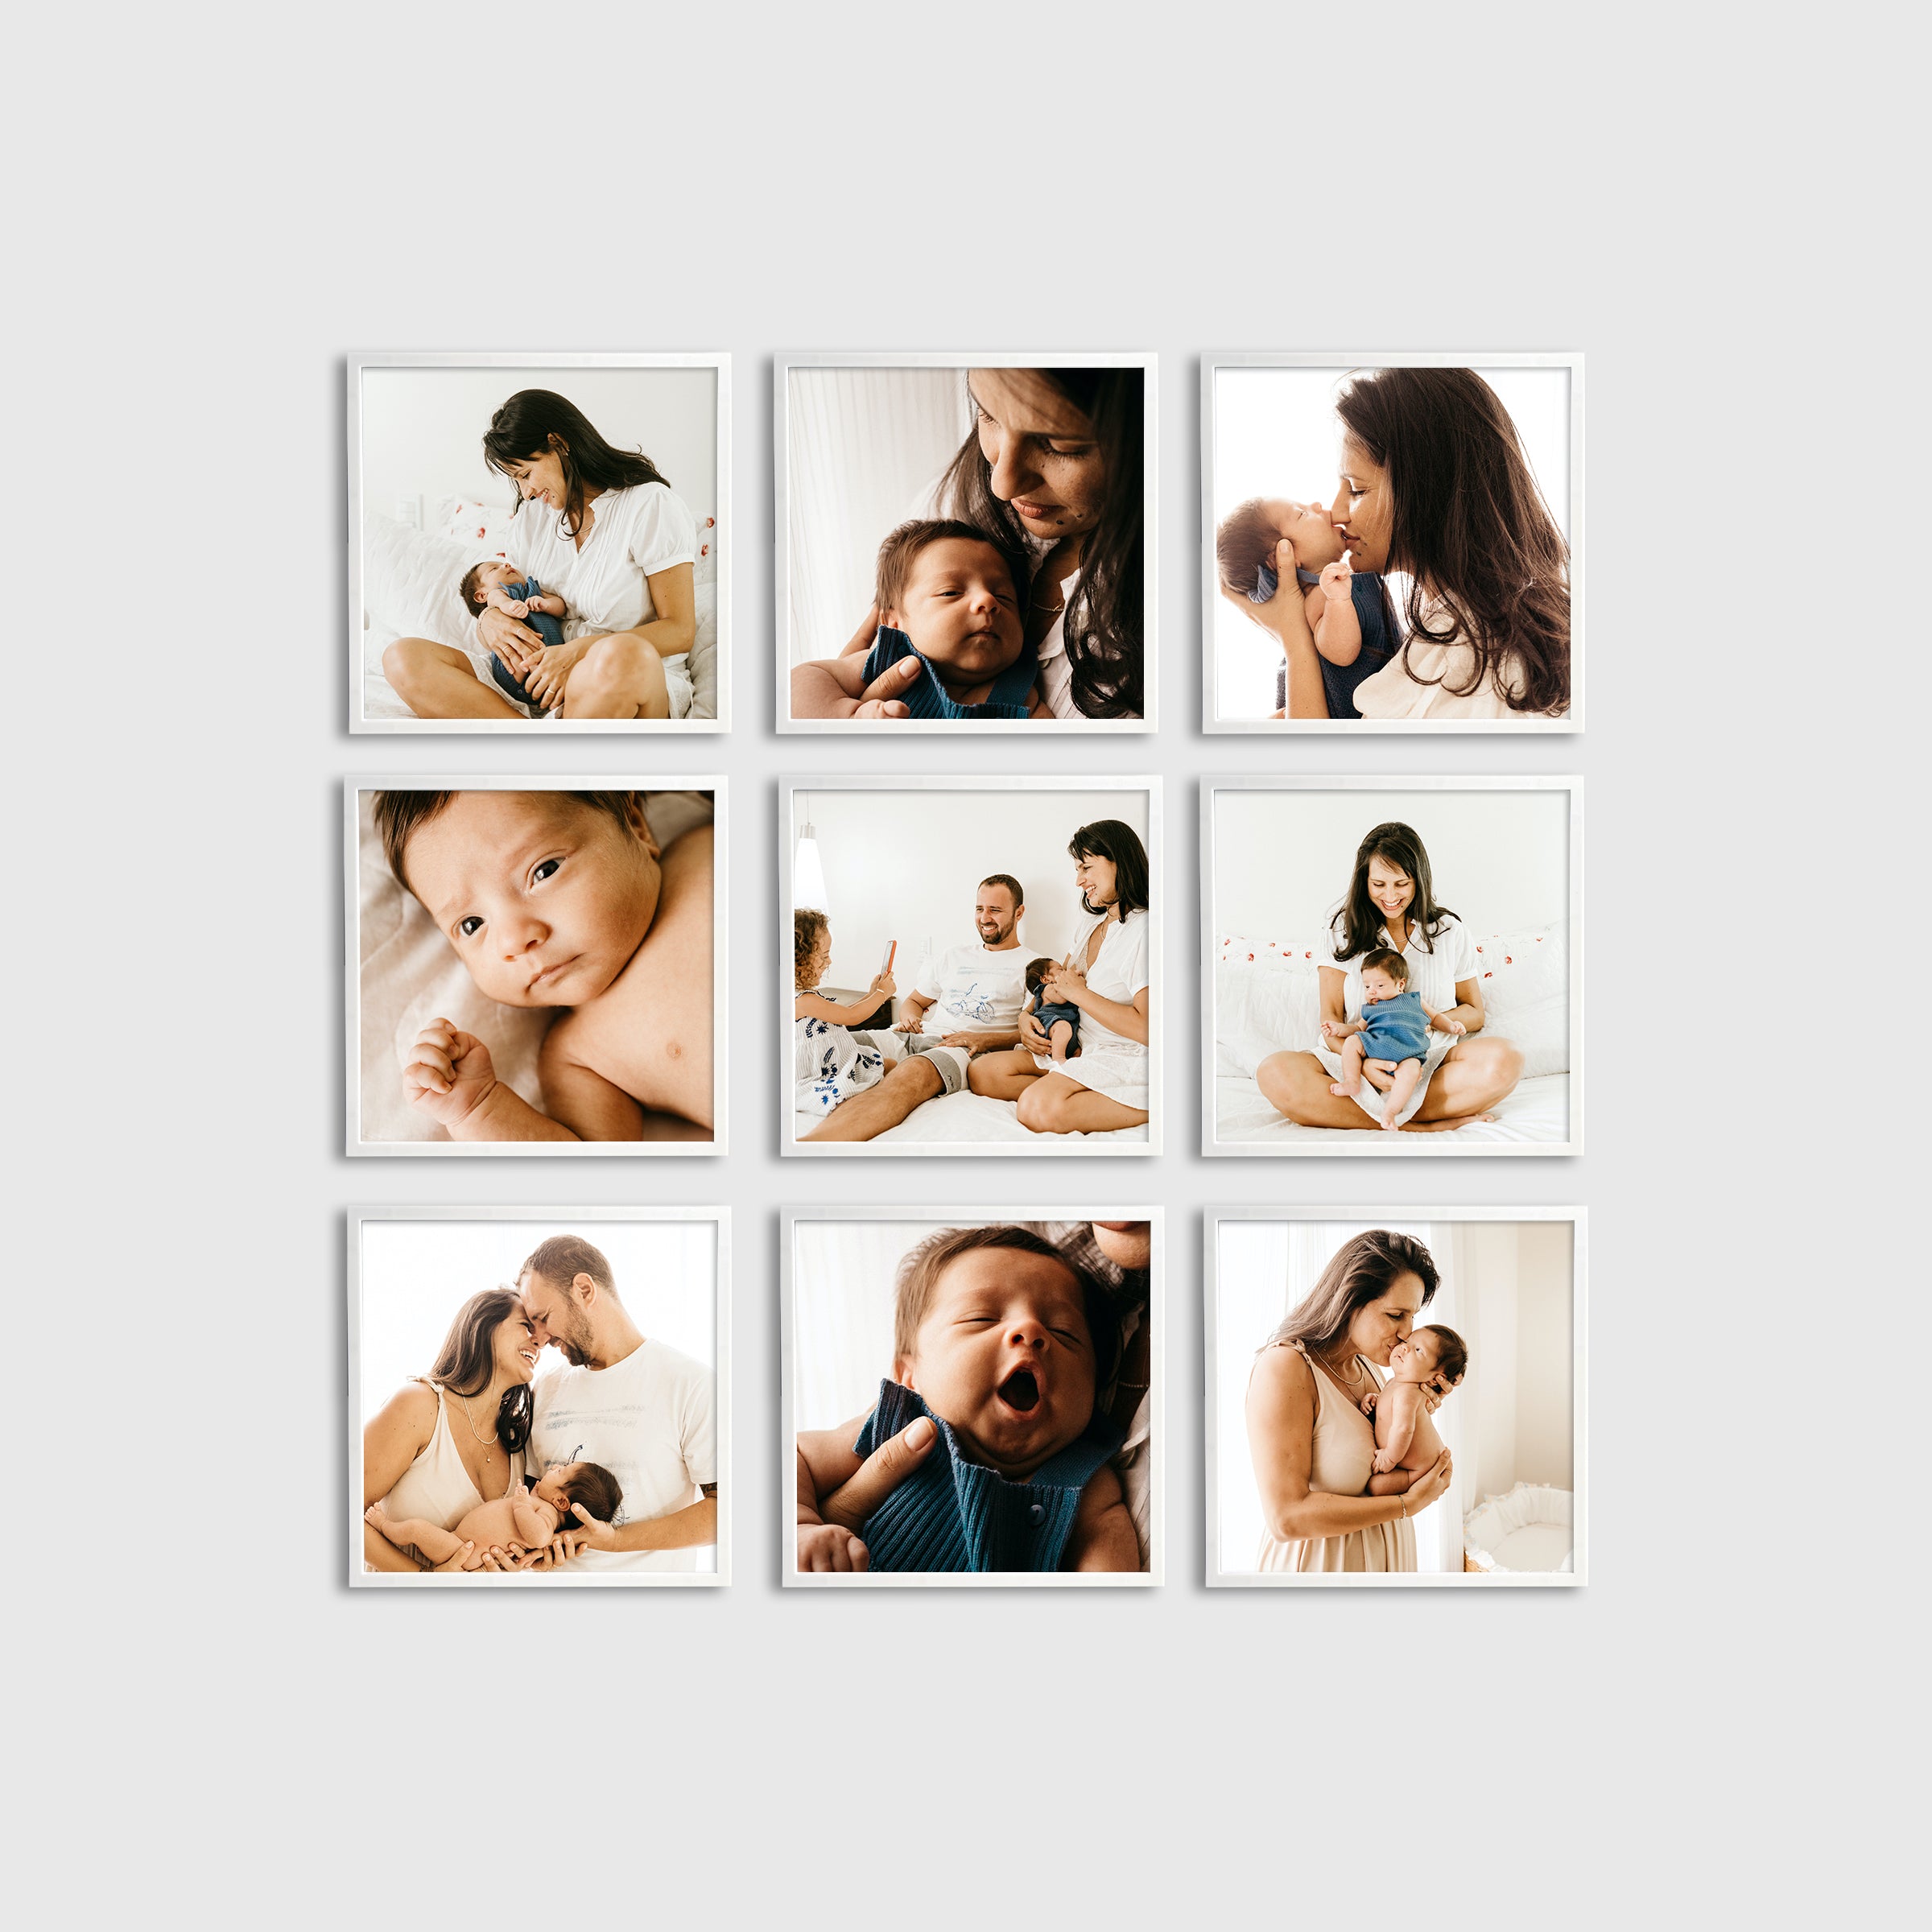
Bonus Tip: Print Your Photos
Don't let your stunning photos go to waste on your camera roll. Consider printing them as beautiful wall art to display in your home or office. You can easily order prints of your photos via our online shop and create stunning canvas prints, framed art, or maybe something a little different such as acrylic or aluminium dibond.
With these simple tips, you can take your iPhone photography to the next level and capture amazing photos with just your phone. So grab your iPhone and start experimenting with these tips today!
